Congratulations to Brianna N., thank you to all that entered! As a busy mom of two wild boys, I cannot tell you the last time I took the time to really focus 100% on myself and purchase a bra! I would love to tell you that I have a boudoir filled with lacy things, and I feel so beautiful while wearing them. Lets get real, I have two bras and I cannot tell you when or where they were purchased! (One is black and the other is nude, neither is lacy or frilly.) I would also love to tell you, that I know these questionable bras fit perfectly. I can recall being measured and fitted before I had children, and the "knowledgeable" woman suggested a bra that would solve all of my concerns. Having a large bust line; I know all about popping out, bulging, rubbing, underwire battles, and constantly fiddling with my straps. Once again, I thought because I had spent a large amount way back when, that I was wearing a bra that fit properly. ...
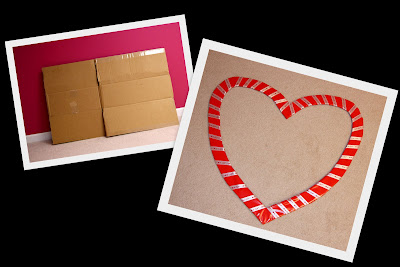
 Heart Frame Photo Prop:
3. Using brown paper, I made a very simple template for a heart shape.
5. I laid the template on the card board, and drew the design on with a sharpie.


great idea..thanks =)
ReplyDeleteI love this Jenny!! I think I might use this for the girls!
ReplyDelete